We will never forget shooting our first wedding. We were actually an associate photographer team for our mentors who had spent countless hours training us, shooting with us, and letting us follow them around. They knew we were ready… but oh my goodness, we were nervous! I remember going to this beautiful venue on a golf course and looking around just feeling overwhelmed with where to even start. (That’s why you get there early, folks. So you can have your moments of scouting and planning… and a little bit of freaking out if you’re brand new 😉 BEFORE your clients are with you.) We were seriously AMAZED that our work actually looked like we were professional wedding photographers afterwards, but if we hadn’t known this one CRITICAL piece of information, we could be telling a very different story right now.
So, here it is. You ready?
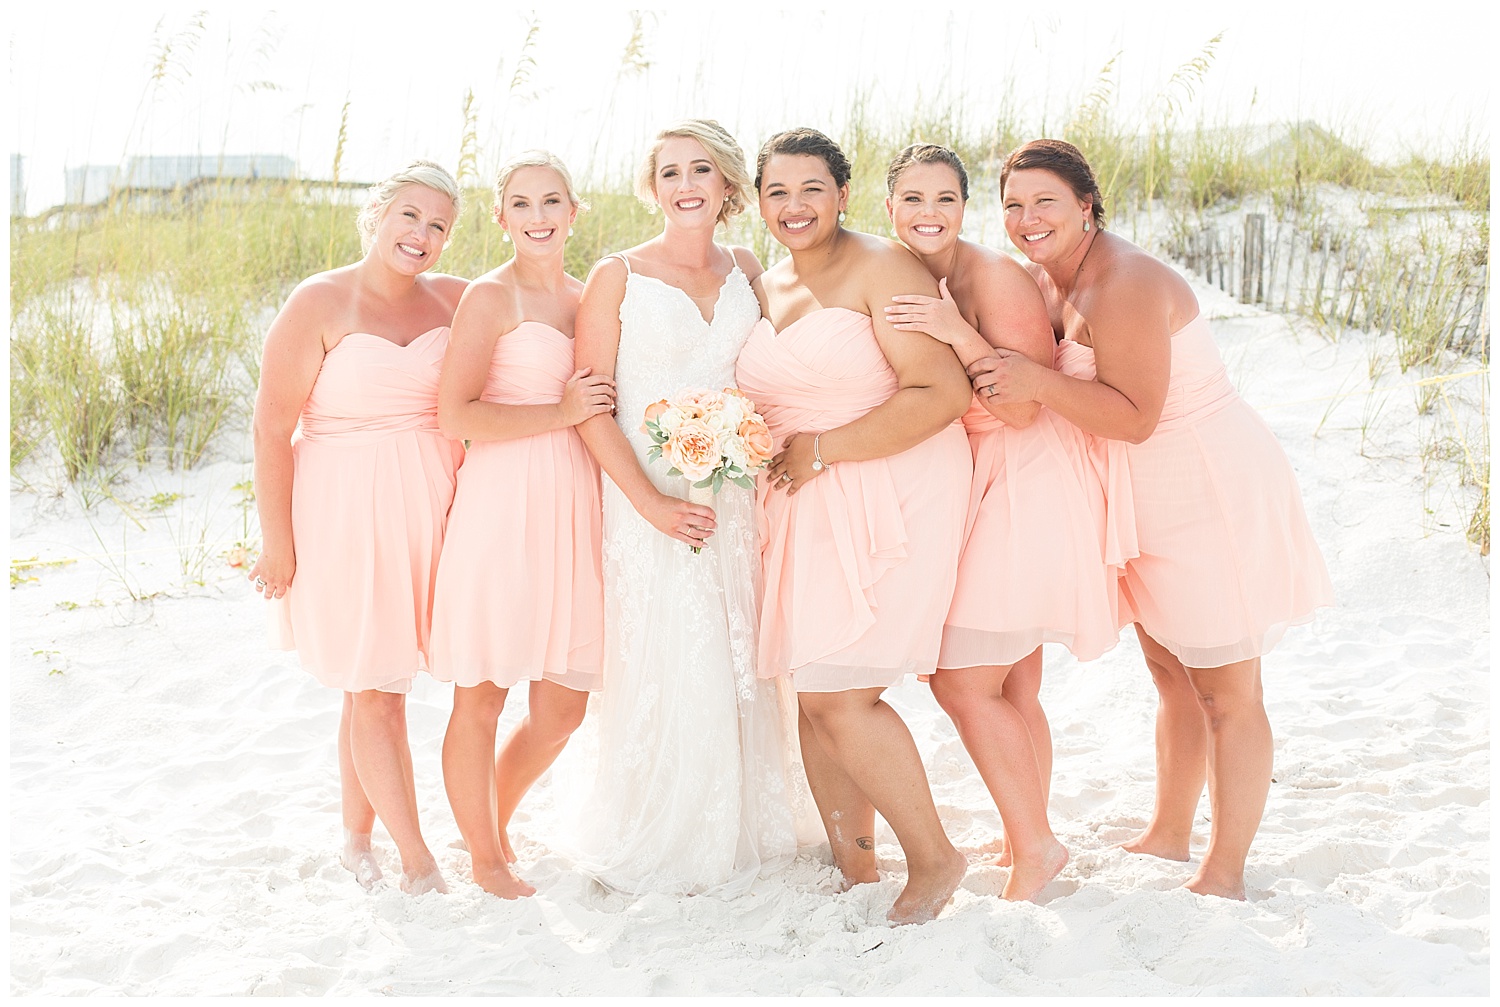
FIND THE RIGHT LIGHT.
That’s it. Simple, right? Don’t look for the prettiest background. Don’t look for leading lines. Don’t look for the perfect opportunity to frame your clients in or use layering in the image. Don’t get too fancy. Just find the right light.
So, what does that mean exactly? How did we get these pictures at midday in full sun without getting crazy hot spots or harsh shadows?

1. Look for Soft, Even Light
If you face your clients toward the sun (like we did to our daughter in this cell phone picture from our front yard this morning), you’re going to get very strong directional light and typically squinting and uncomfortable clients. Or if you let the sun hit your clients from the side, you can see how it casts shadows on some of their face and creates hot spots (blown out parts of the images where harsh sunlight is only hitting a portion of your clients’ faces or bodies). When we turned our oldest daughter with her back to the sun, you can see how her skin tone is now consistent. This is where your planning will come into play – If your client has their heart set on a particular background, you’ll need to be very intentional about what time of day you shoot to ensure that lighting will be flattering for them to get that shot!


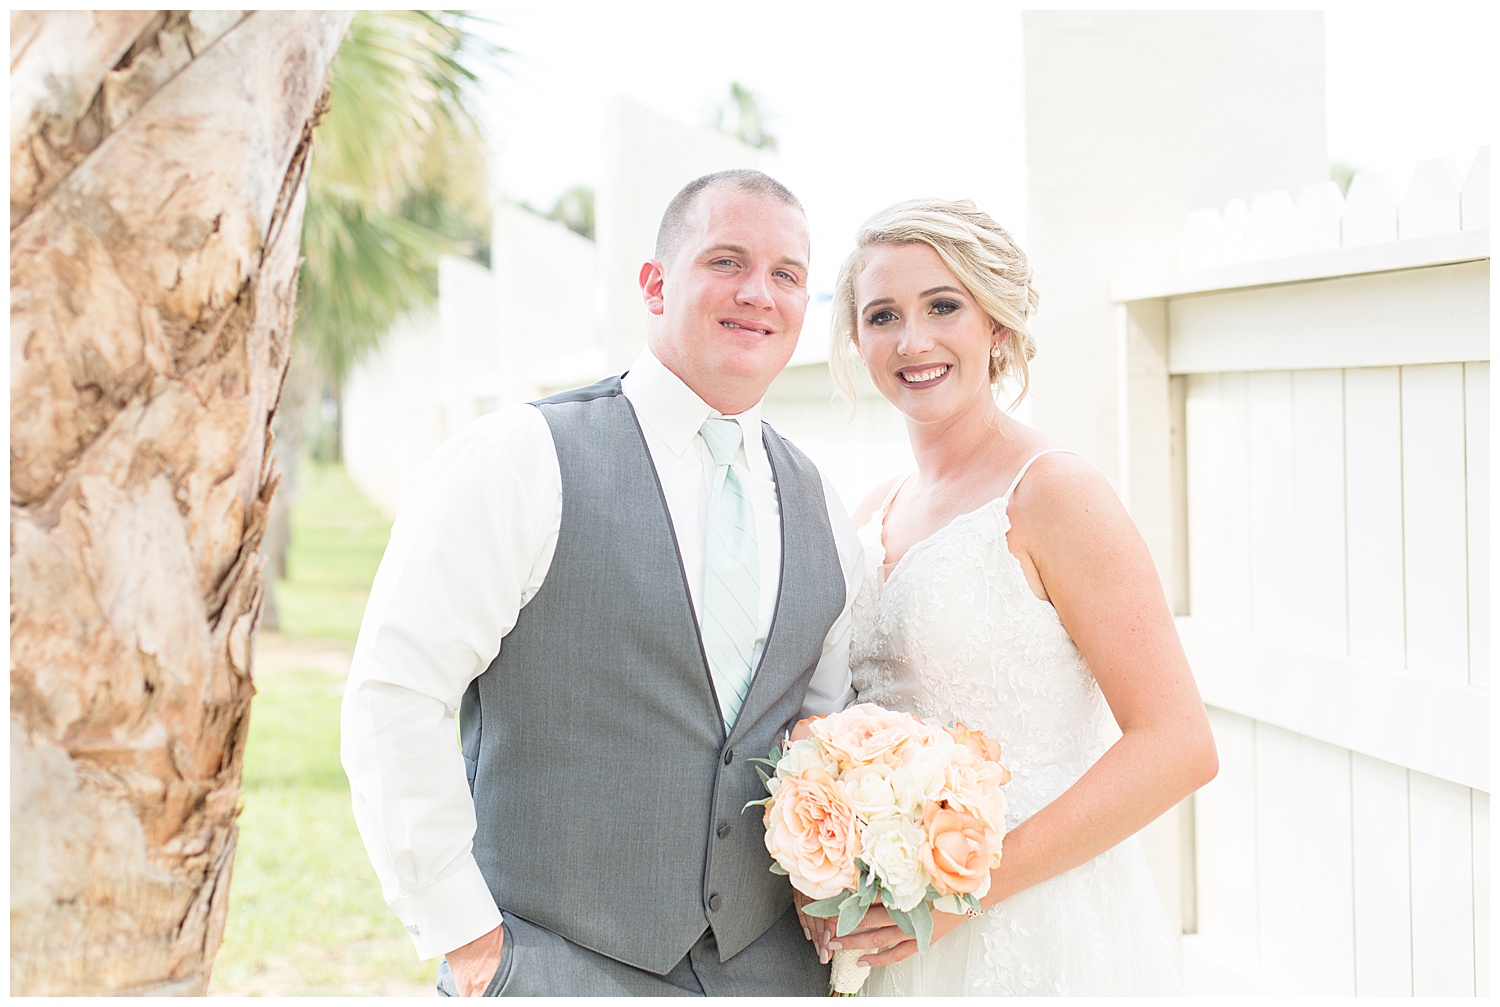
2. Use Objects on Location to Create Shade
When you have a choice, the most flattering light is typically in the hour or two right after sunrise or right before sunset when the sun is lower in the sky and light is softer. But sometimes, we don’t get to choose! Maybe you’re shooting a wedding and portraits have to be taken at noon to make the timeline work. Or maybe you’re taking pictures of a family with a toddler who has an early bedtime or needs a nap. When you are shooting at midday in less-than-ideal light but want a particular background, try using objects at your location to create shade for your subjects. In the bride and groom portraits above, we used a palm tree to block the unflattering directional light that was hitting them from the side. In the last picture of our daughter, we tried to show how even the shade of that tiny tree is enough to avoid harsh light and allow us to flatter her features!
We hope you can start using this tip right away, whether you are taking professional pictures for paying clients or just snapping cell phone shots of your family and friends! If you want more lighting tips, check back here for next week’s ‘Tog Tuesday or follow along on Facebook and Instagram!


